How to Make Beef Jerky at Home: The Complete Guide to Perfect Homemade Jerky
Making beef jerky at home is one of those projects that sounds complicated but is actually remarkably simple once you understand the fundamentals. You take a lean cut of beef, slice it thin, soak it in a flavorful marinade, and dry it slowly until it transforms into something entirely new—concentrated, chewy, savory, and shelf-stable without refrigeration.
The practice of drying meat is ancient. Long before refrigeration, cultures across every continent preserved meat by removing moisture through sun-drying, smoking, or salting. The word “jerky” itself comes from the Quechua word ch’arki, meaning dried or salted meat. South American indigenous peoples were making ch’arki from llama and alpaca thousands of years before European contact.
Today, homemade jerky is experiencing a renaissance. The commercial jerky market has exploded, but the best stuff still comes from home kitchens where you control every variable—the quality of the beef, the salt level, the spice balance, and the texture. This guide covers everything you need to make exceptional beef jerky at home, whether you own a dedicated dehydrator or just have a standard kitchen oven.
Choosing the Right Cut of Beef
The cut you choose determines everything about your finished jerky—the texture, the flavor, and how easy it is to slice. The golden rule: you want lean. Fat doesn’t dehydrate well and will turn rancid during storage, shortening your jerky’s shelf life and giving it an off flavor.
Top Cuts for Beef Jerky
- Top round (London broil): This is the king of jerky cuts. It’s extremely lean, has a uniform grain that makes slicing easy, and it’s affordable. Most commercial jerky operations use top round for good reason. A 3-pound piece will yield roughly 1 pound of finished jerky.
- Bottom round: Very similar to top round in leanness and price. Slightly more connective tissue means a bit more chew in the finished product, which some people actually prefer. Excellent value.
- Eye of round: The leanest of the round cuts with a beautiful cylindrical shape that’s perfect for uniform slices. It can be slightly tougher than top round, but for jerky that’s actually a positive—you want some resistance when you bite.
- Flank steak: A step up in flavor from round cuts with a more pronounced beefy taste. The visible grain makes it easy to slice consistently. It costs more, but the flavor difference is noticeable. Great for when you want premium jerky without premium effort.
- Sirloin tip: Good flavor, reasonable price, lean enough for jerky. The shape can be irregular, so you may need to trim it before slicing.
- Deer, elk, or bison: If you have access to game meat, it makes outstanding jerky. These are naturally leaner than beef, so they’re ideal candidates. The flavor profiles are distinct and wonderful.
Cuts to Avoid
Skip anything with significant marbling or intramuscular fat. Ribeye, chuck, and brisket are fantastic for other cooking methods but poor choices for jerky. The fat won’t dehydrate properly, will feel greasy in the finished product, and will go rancid in storage. Also avoid pre-tenderized cuts or anything labeled “enhanced” with a salt solution—you’ll be adding your own salt in the marinade.
How Much to Buy
Expect to lose 50–60% of the raw weight during dehydration. A 3-pound piece of top round will yield approximately 1.2–1.5 pounds of finished jerky. For a standard batch that fills a typical dehydrator (5–6 trays), start with 3–4 pounds of raw meat.
Slicing Techniques
How you slice the beef has a dramatic impact on the texture of your jerky. There are two approaches, and they produce very different results.
With the Grain vs. Against the Grain
- With the grain: Slicing parallel to the muscle fibers produces jerky with a traditional chewy, tear-apart texture. This is what most people think of when they think “jerky.” The long fibers hold together and require you to tear or bite through them. This is the classic approach and my recommendation for beginners.
- Against the grain: Slicing perpendicular to the muscle fibers produces jerky that’s more tender and breaks apart easily. It almost crumbles when you bite it. Some people prefer this, especially for snacking. It’s also better for folks with dental issues.
Thickness Matters
Aim for slices between 1/8 inch and 1/4 inch thick. Consistency is more important than exact thickness—if some pieces are 1/8 inch and others are 1/4 inch, the thin ones will be bone-dry before the thick ones are done.
The freezer trick: Place the beef in the freezer for 1–2 hours until it’s firm but not frozen solid. This makes slicing dramatically easier. The partially frozen meat holds its shape against the knife, allowing you to cut thin, even strips without the meat squishing or tearing. This is the single most helpful tip for home jerky making.
Use a sharp chef’s knife or a dedicated meat slicer if you have one. Dull knives will tear the meat rather than slicing it cleanly, leading to ragged edges that dry unevenly.
Marinades and Seasoning
The marinade serves two purposes: flavor and preservation. Salt is the critical ingredient—it inhibits bacterial growth during the drying process and intensifies the beefy flavor. Everything else is about building the taste profile you want.
Classic Soy-Worcestershire Marinade
This is the foundational beef jerky marinade. It’s simple, balanced, and produces jerky that tastes like what jerky should taste like. For 3 pounds of sliced beef:
- 1/2 cup soy sauce (use low-sodium if you prefer less salt)
- 2 tablespoons Worcestershire sauce
- 1 tablespoon brown sugar or honey
- 2 teaspoons freshly ground black pepper
- 1 teaspoon garlic powder
- 1 teaspoon onion powder
- 1/2 teaspoon smoked paprika
- Optional: 1/2 teaspoon red pepper flakes for heat
Combine everything in a bowl, add the sliced beef, toss to coat, and refrigerate for 4–24 hours. Longer marinating means deeper flavor penetration, but anything over 24 hours can make the texture mushy from the acid and salt breaking down the proteins too aggressively.
Spicy Sriracha Marinade
For heat lovers. For 3 pounds of sliced beef:
- 1/3 cup soy sauce
- 3 tablespoons sriracha
- 2 tablespoons rice vinegar
- 1 tablespoon sesame oil
- 1 tablespoon brown sugar
- 1 tablespoon fish sauce
- 2 teaspoons garlic, minced
- 1 teaspoon ground ginger
Teriyaki Marinade
Sweet, savory, and deeply umami. For 3 pounds of sliced beef:
- 1/2 cup soy sauce
- 1/4 cup mirin
- 2 tablespoons brown sugar
- 1 tablespoon rice vinegar
- 1 tablespoon sesame oil
- 2 teaspoons freshly grated ginger
- 2 cloves garlic, minced
- 1 teaspoon toasted sesame seeds (added after drying)
Dry Rub Method (No Marinade)
If you prefer a more concentrated beef flavor without the liquid marinade, a dry rub works beautifully. Mix per pound of sliced beef:
- 1 tablespoon kosher salt
- 2 teaspoons black pepper
- 1 teaspoon garlic powder
- 1 teaspoon onion powder
- 1/2 teaspoon cayenne (optional)
- 1/2 teaspoon curing salt #1 (Prague Powder #1)—optional but recommended for food safety
Toss the sliced beef with the rub, vacuum seal or place in a zip-lock bag, and refrigerate for 12–24 hours.
A Note on Curing Salt and Food Safety
This is where opinions diverge in the jerky world, so let’s be clear about the science. Curing salt #1 (sodium nitrite) is not strictly required for jerky, but the USDA recommends it, especially if you’re drying at temperatures below 160°F.
The concern is that low-temperature drying can create conditions where harmful bacteria—particularly Salmonella and E. coli O157:H7—survive on the meat surface. The USDA’s recommended approach is to either:
- Pre-heat the meat to 160°F before dehydrating (this kills pathogens but can affect texture)
- Use curing salt in the marinade as an additional safety barrier
- Use a dehydrator that reaches 160°F+ and hold at that temperature for the first hour
If you’re making jerky for yourself and eating it within a week or two, the risk from a soy sauce marinade and thorough drying is very low. If you’re making it for others, for children, or for long-term storage, use the curing salt. It’s cheap insurance.
Note: For jerky, use curing salt #1 (Prague Powder #1), not #2. Cure #1 contains only sodium nitrite, which works fast and is appropriate for products that will be cooked or dried quickly. Cure #2 contains both nitrite and nitrate and is reserved for long-cured products like bresaola, salami, and prosciutto.
Drying Methods
Method 1: Food Dehydrator
A dedicated food dehydrator is the gold standard for making jerky at home. It provides consistent low heat and air circulation, which is exactly what you need.
- Remove meat from marinade and pat each strip dry with paper towels. Excess moisture on the surface will extend drying time and can create a sticky, tacky exterior instead of the dry, matte finish you want.
- Arrange strips on dehydrator trays in a single layer with space between each piece. Don’t overlap—air needs to circulate around every surface. If you can see tray mesh between the strips, you’re good.
- Set temperature to 160–165°F for the first hour to ensure food safety, then reduce to 145–155°F for the remainder. Many modern dehydrators handle this automatically.
- Dry for 4–8 hours, depending on thickness, humidity, and your dehydrator model. Start checking at 4 hours. Rotate trays every 2 hours if your dehydrator doesn’t have a fan (stackable models dry unevenly from top to bottom).
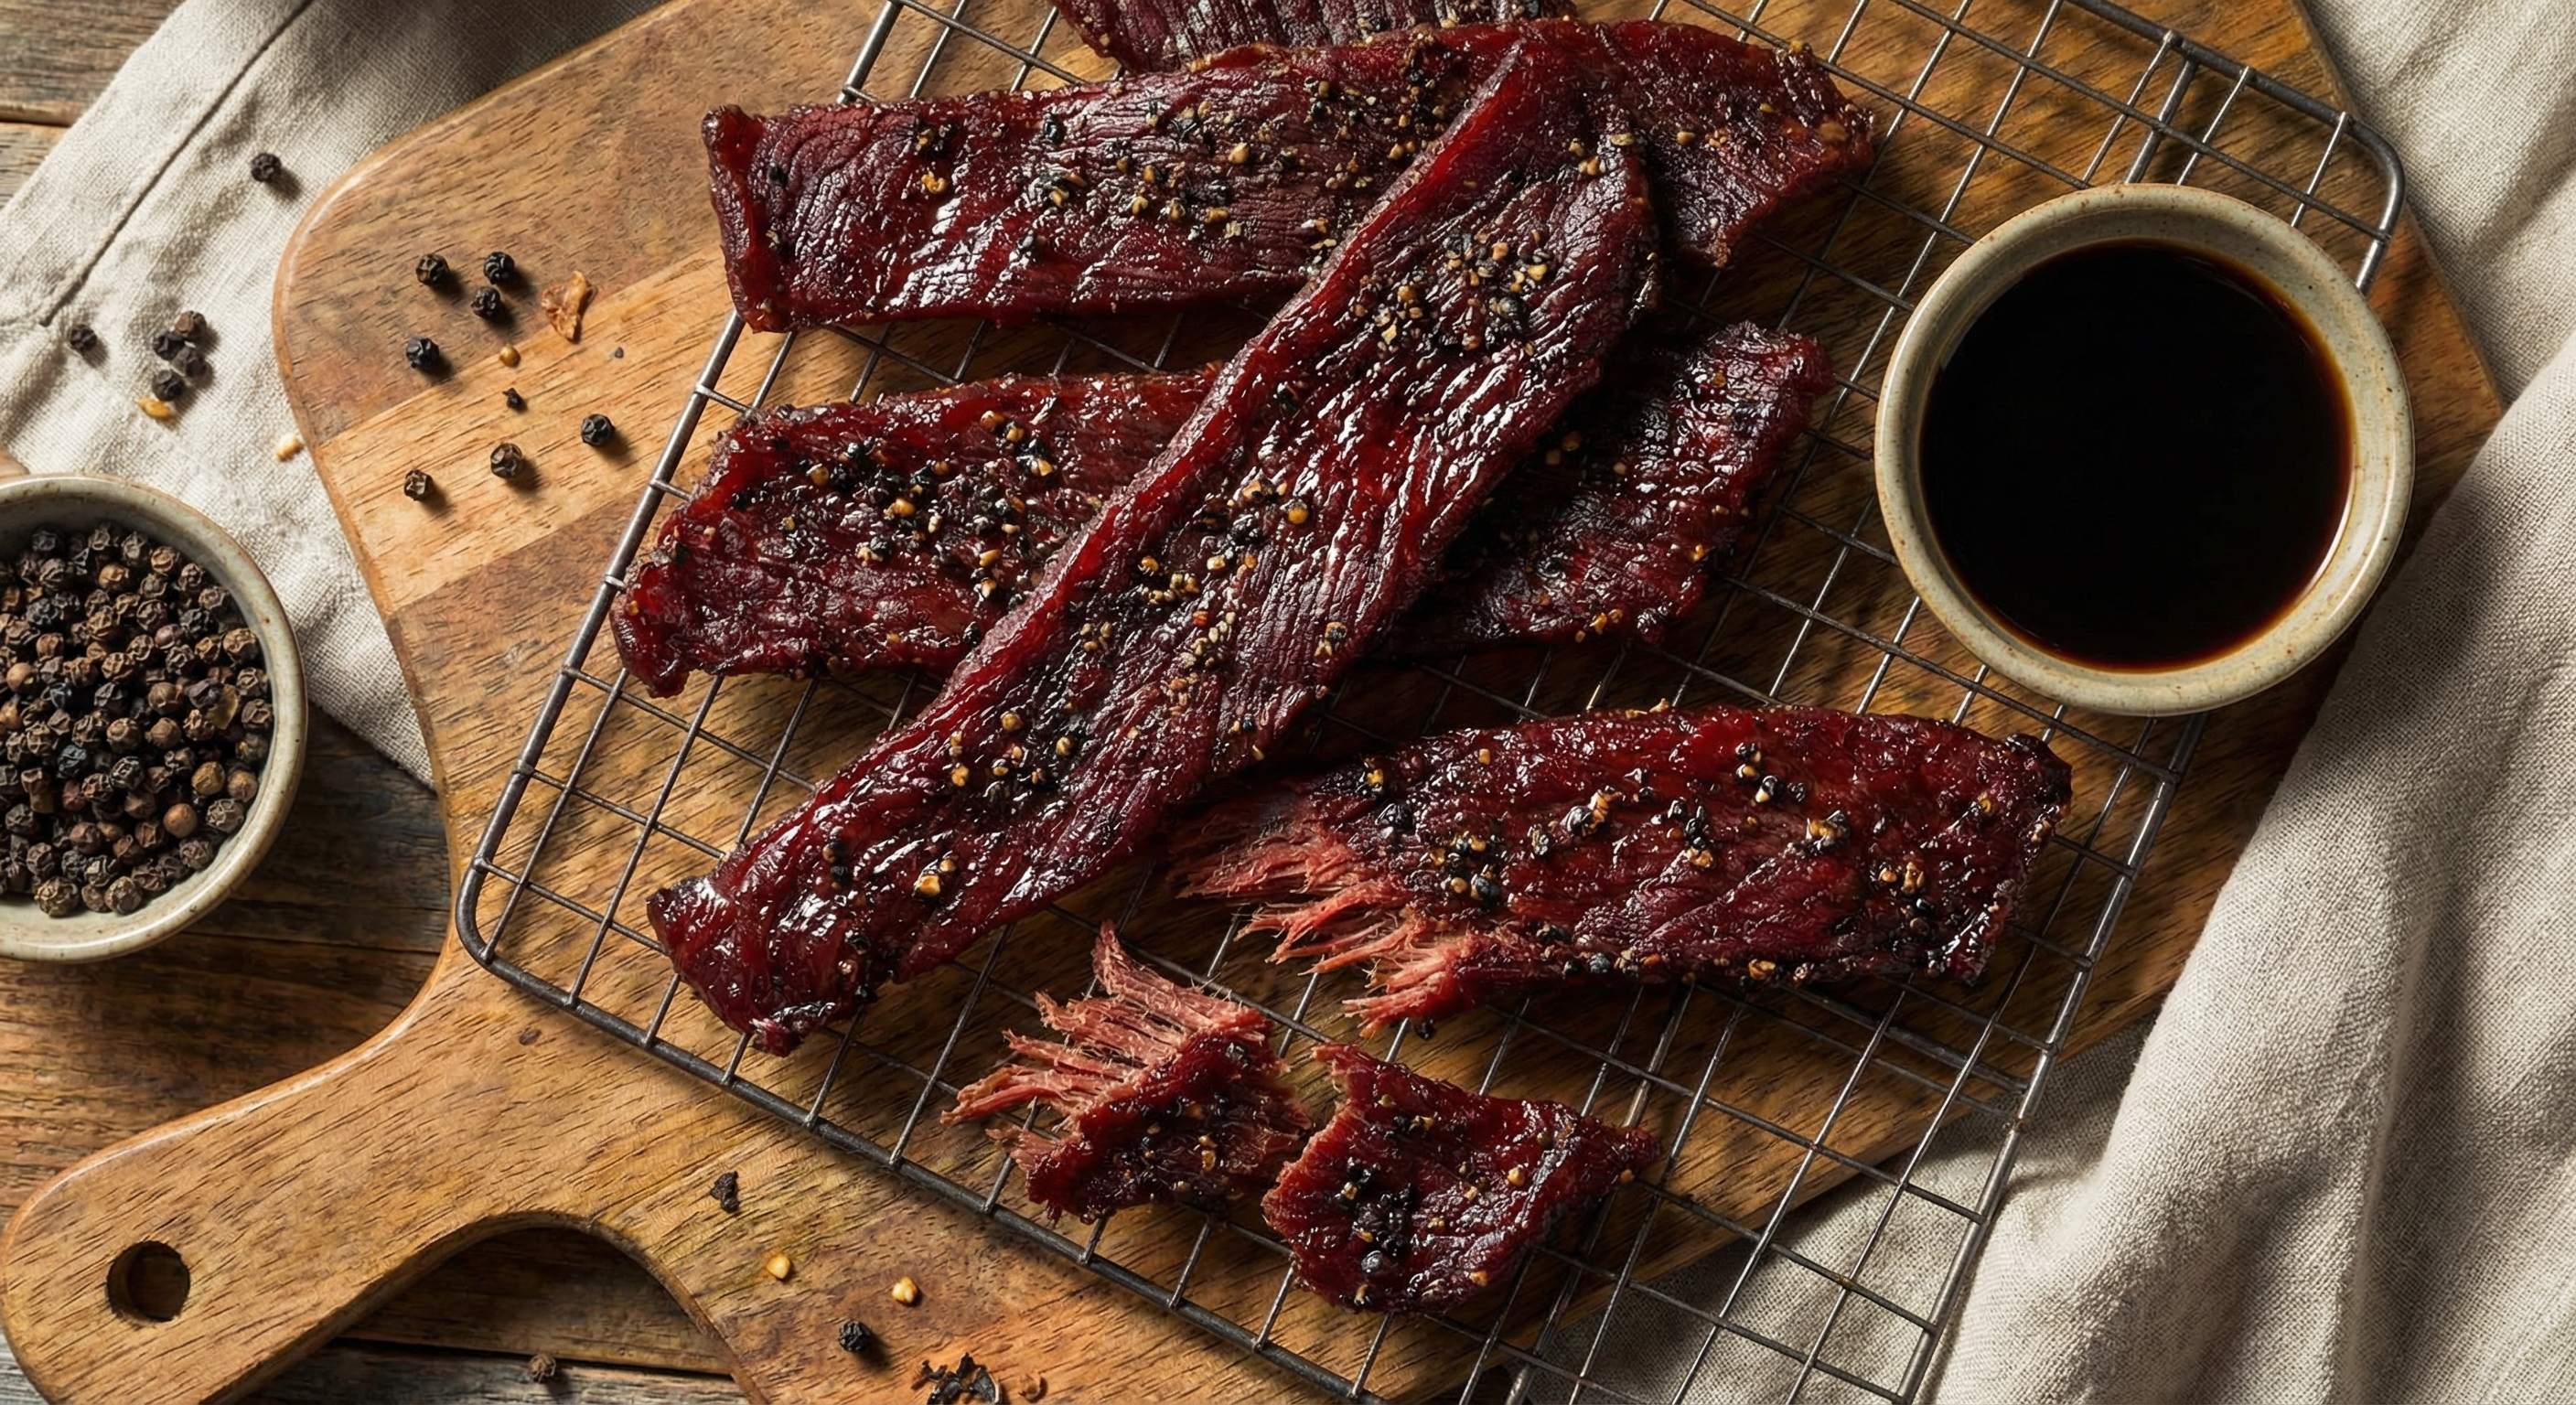
- Test for doneness: Bend a piece. It should bend and crack slightly but not snap in half. If it snaps, it’s overdone. If it bends without cracking and feels moist, keep going. The interior should be uniformly dark with no visible wet spots.
Method 2: Oven
No dehydrator? Your oven works fine, though it uses more energy and requires a bit more attention.
- Preheat oven to the lowest setting, ideally 170–200°F. If your oven won’t go below 200°F, prop the door open with a wooden spoon to reduce the effective temperature and allow moisture to escape.
- Line baking sheets with wire racks (like cooling racks) so air circulates under the meat. If you don’t have racks, lay the strips directly on the oven grates with a sheet pan below to catch drips.
- Arrange strips in a single layer on the racks. Same rule as the dehydrator—no overlapping.
- Bake for 3–5 hours, flipping once halfway through. The oven method is faster because the temperature is typically higher. Check frequently starting at the 3-hour mark.
- Crack the oven door slightly for the duration. This lets moisture escape and prevents the meat from cooking instead of drying. A wooden spoon handle in the door works perfectly.
Method 3: Smoker
If you have a smoker, you can make jerky with an incredible depth of flavor that no other method matches.
- Set your smoker to 165–180°F. You want low and slow—this isn’t a brisket cook.
- Use mild wood: Hickory, cherry, or apple work best. Mesquite can be overpowering on thin strips of meat. Use less wood than you think—thin jerky strips absorb smoke quickly.
- Lay strips on the grates or hang them from hooks or skewers if your smoker has that capability. Hanging produces the most even results.
- Smoke for 3–5 hours, checking frequently after hour 3. The combination of smoke, heat, and airflow dries jerky efficiently.
Troubleshooting Common Problems
Jerky Is Too Tough
You probably sliced with the grain and cut too thick. Next time, try thinner slices or cut against the grain. If the jerky is already made, tear it into smaller pieces—it’s still delicious, just harder to eat in long strips.
Jerky Is Too Salty
Reduce the soy sauce next time, or switch to low-sodium soy sauce. If using a dry rub, cut the salt by 25%. If the current batch is too salty, it pairs well with beer, which is a perfectly valid solution.
Jerky Is Sticky or Tacky
Not dried long enough, or the sugar content in your marinade was too high. Put it back in the dehydrator for another 1–2 hours. High-sugar marinades (teriyaki, honey-based) will always have a slightly tackier finish than soy-based ones—that’s normal and many people prefer it.
Uneven Drying
Inconsistent slice thickness is the usual culprit. Use the freezer trick, invest in a sharp knife, and take your time slicing. Also rotate your dehydrator trays or flip oven strips midway through.
Mold During Storage
The jerky wasn’t dry enough when you stored it, or moisture got in during storage. Properly dried jerky should not develop mold. If you see any mold, discard the entire batch—don’t try to salvage it.
Storage and Shelf Life
Proper storage is the difference between jerky that lasts weeks and jerky that goes bad in days.
- Room temperature in a sealed container: 1–2 weeks. Use a zip-lock bag with the air pressed out, or an airtight container. Drop in a food-grade silica gel packet (the kind that comes with shoes) to absorb any residual moisture.
- Refrigerator: 1–2 months in an airtight container.
- Freezer: 6+ months. Vacuum-sealed jerky freezes beautifully and thaws quickly at room temperature.
- Vacuum sealed at room temperature: 1–2 months. The lack of oxygen dramatically extends shelf life. This is how commercial jerky achieves those long best-by dates.
The key variables are moisture content, oxygen exposure, and temperature. Drier jerky lasts longer. Less air means less oxidation. Cooler storage slows bacterial growth. Curing salt extends shelf life significantly by inhibiting bacterial growth even if conditions aren’t perfect.
Flavor Variations to Try
Once you’ve nailed the basic technique, the real fun begins. Jerky is an incredibly versatile canvas for flavors.
- Everything bagel: Coat dried jerky in everything bagel seasoning while still slightly warm. The seeds stick and add a fantastic crunch.
- Maple bourbon: Replace the brown sugar in the classic marinade with 2 tablespoons maple syrup and add 2 tablespoons bourbon. The alcohol evaporates during drying, leaving behind rich, complex sweetness.
- Korean gochujang: 3 tablespoons gochujang, 2 tablespoons soy sauce, 1 tablespoon sesame oil, 1 tablespoon rice vinegar, 1 tablespoon honey. Sweet, spicy, funky, and addictive.
- Caribbean jerk: Scotch bonnet peppers, allspice, thyme, scallions, soy sauce, and lime juice. Fiery and aromatic.
- Simple salt and pepper: Sometimes the best jerky is the simplest. Kosher salt, cracked black pepper, nothing else. The beef flavor shines through completely.
Equipment Recommendations
You don’t need much to make great jerky, but a few items make the process significantly easier.
- Food dehydrator: If you plan to make jerky regularly, a dehydrator pays for itself quickly. Round stackable models (like the Nesco Snackmaster) are affordable and work well for beginners. Square tray models (like Excalibur) offer more capacity and more even drying but cost more.
- Sharp knife: A good 8–10 inch chef’s knife or a dedicated slicing knife. Sharpness matters more than brand.
- Vacuum sealer: Not essential, but if you make jerky in large batches, a vacuum sealer dramatically extends shelf life and makes freezer storage much more efficient.
- Jerky gun: For ground meat jerky (a different but equally valid approach), a jerky gun extrudes seasoned ground beef into flat strips. It’s faster than slicing whole muscle and produces very consistent results.
Ground Meat Jerky: An Alternative Approach
Not all jerky starts with sliced whole muscle. Ground meat jerky is its own category and has some real advantages—it’s easier to season uniformly, you can use cheaper cuts, and the texture is more tender.
Mix 2 pounds of lean ground beef (90/10 or leaner) with your seasoning blend of choice. Use a jerky gun to extrude flat strips onto dehydrator trays, or roll the meat between sheets of parchment paper to 1/8 inch thickness and cut into strips with a pizza cutter.
Ground meat jerky requires curing salt—this is non-negotiable. The grinding process introduces surface bacteria throughout the meat, so the interior safety concerns are real. Use 1 teaspoon of cure #1 per 5 pounds of ground meat.
Dry using the same methods and temperatures as whole-muscle jerky. Ground jerky typically dries faster due to its thinner, more uniform profile.
Putting It All Together
Here’s the streamlined process from start to finish:
- Buy 3–4 pounds of top round or eye of round
- Trim any visible fat
- Freeze for 1–2 hours until firm
- Slice 1/8–1/4 inch thick, with the grain for chewy, against for tender
- Marinate 4–24 hours in the refrigerator
- Pat dry and arrange on dehydrator trays or oven racks
- Dry at 160°F for 1 hour, then 145–155°F for 3–7 more hours
- Test: bend should crack slightly but not snap
- Cool completely before storing
- Store in airtight container; refrigerate or vacuum seal for longer shelf life
The total active time is about 30–45 minutes of prep work. The rest is passive drying time that requires minimal attention. Once you’ve done it twice, the whole process becomes second nature.
Homemade beef jerky is one of those things that, once you’ve made it, you’ll never want to buy commercial jerky again. The flavor is better, it’s cheaper per pound, and you know exactly what’s in it. Start with the classic soy-Worcestershire marinade, nail your slicing technique, and go from there. Your dehydrator is about to become your favorite kitchen appliance.
More Charcuterie Guides
What Is Pink Curing Salt? Sodium Nitrite Explained for Home Charcuterie
Pink curing salt is the most essential — and most misunderstood — ingredient in meat curing. This guide explains what it is, why it's pink, how sodium nitrite prevents botulism, proper usage rates, and whether you can cure meat without it.
10 min readHow Long Does Charcuterie Last? Storage Guide for Cured Meats & Cheese
Understanding proper charcuterie storage ensures you enjoy it at peak quality while avoiding food safety risks.
10 min read