How to Dry Age Beef at Home: The Complete Guide
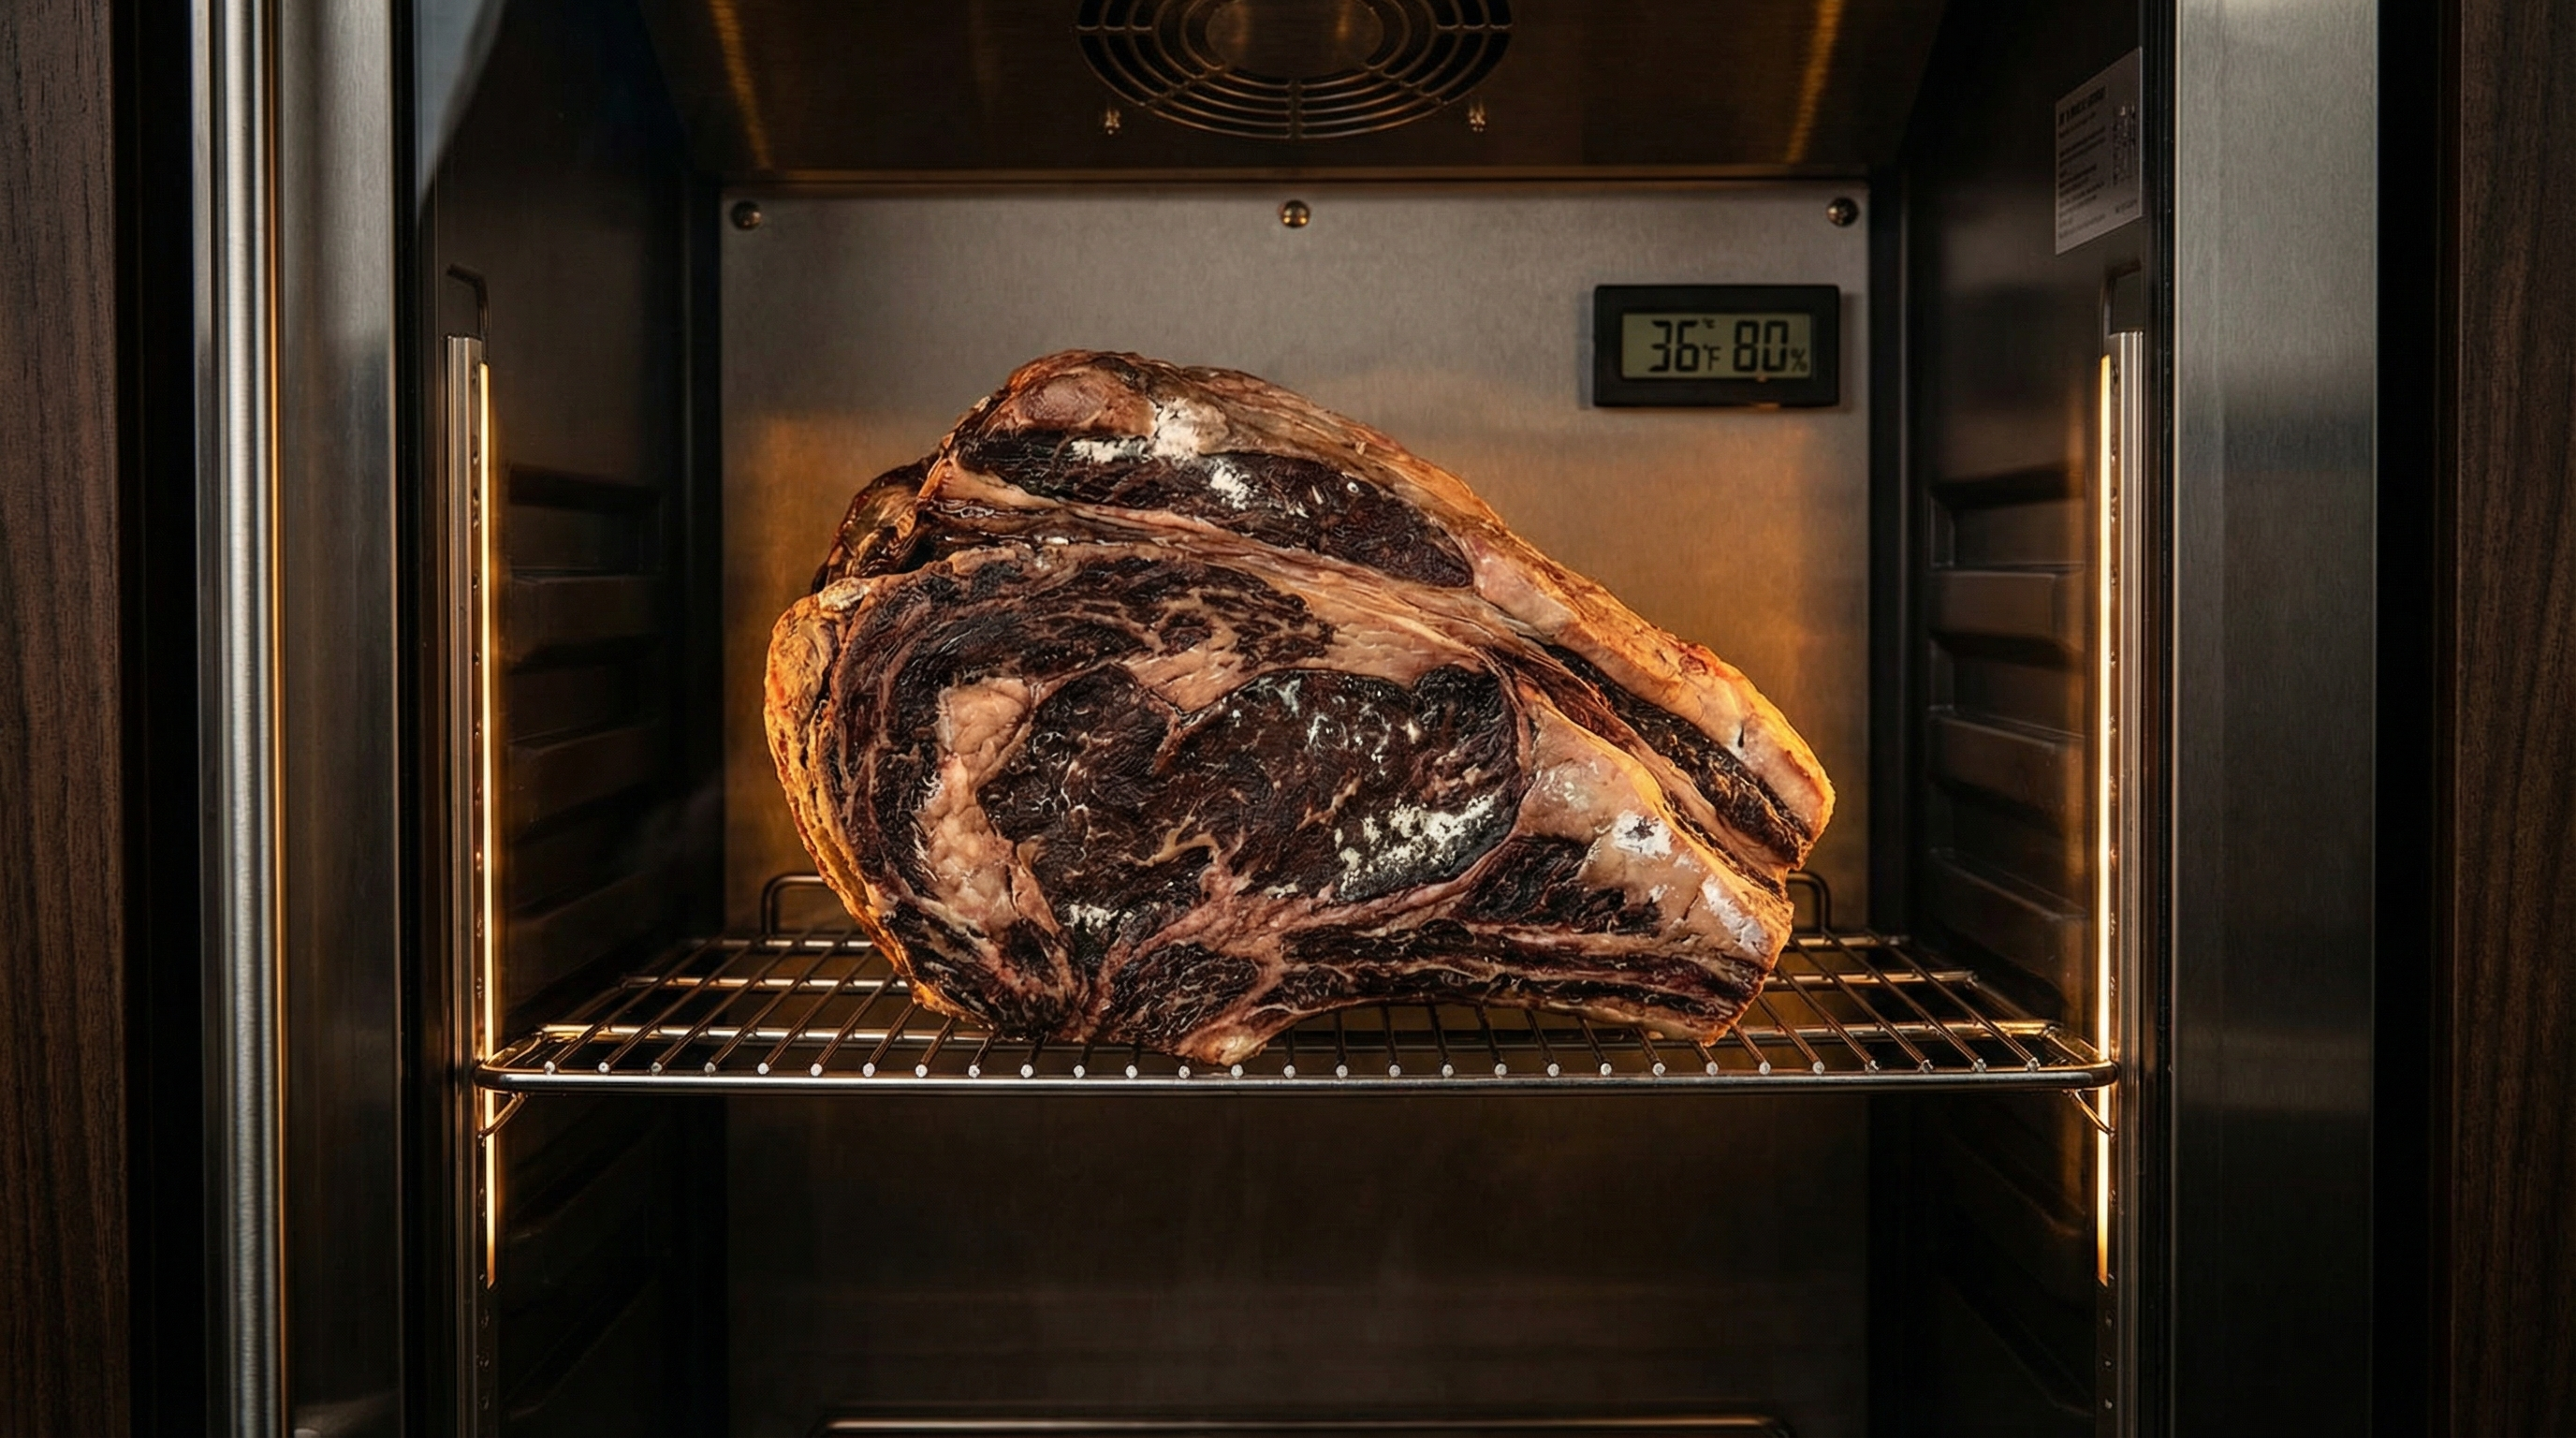
Walk into any high-end steakhouse and you'll see it — a glass-fronted dry aging cabinet showcasing dark, almost prehistoric-looking cuts of beef. Those primal cuts have been aging for 30, 45, sometimes 60+ days in carefully controlled conditions. The result is beef with a depth of flavor and buttery tenderness that fresh-cut steaks can't match.
The good news: you don't need a steakhouse budget to dry age beef. With the right equipment, cut selection, and patience, you can produce restaurant-quality dry aged steaks at home. I've been dry aging in my own setup for years alongside my charcuterie work, and the process shares many principles with the curing and drying I do daily — controlled environments, patience, and respect for the science.
What Happens During Dry Aging
Dry aging is controlled decomposition. When a large cut of beef sits in a cold, humid, well-ventilated environment, three things happen simultaneously:
- Moisture loss: Water evaporates from the muscle surface, concentrating the beefy flavor in the remaining tissue. A 30-day aged subprimal typically loses 15-20% of its starting weight — which is why dry aged beef costs more per pound.
- Enzymatic breakdown: Natural enzymes (calpains and cathepsins) in the muscle tissue break down structural proteins, particularly the connective tissue that makes steak tough. This is tenderization at the molecular level — no mechanical process can replicate it.
- Flavor development: As enzymes work on proteins and fats, they produce new flavor compounds. The characteristic "dry aged" flavor — nutty, funky, intensely beefy with notes that some describe as blue cheese or roasted nuts — develops gradually. At 21 days you get noticeable tenderness improvement. At 30-45 days, the flavor transformation becomes dramatic.
The exterior of the beef forms a hard, dark crust called the pellicle. This crust protects the interior from bacterial contamination while allowing moisture to escape — the same principle behind the bark on smoked meat or the rind on cured charcuterie. You trim this crust away before cooking, exposing the perfectly aged beef underneath.
Choosing the Right Cut
Not every cut of beef is suitable for dry aging. You need a large subprimal — a whole muscle group with a protective fat cap — not individual steaks. Individual steaks would lose too much moisture and dry out completely.
Best Cuts for Home Dry Aging
- Bone-in ribeye (standing rib roast): The gold standard. The rib bones and fat cap protect the meat on multiple sides, minimizing trim loss. Produces spectacular dry aged ribeye steaks. This is what I recommend for your first attempt.
- Bone-in strip loin: Another excellent choice. The backbone protects one side, and the fat cap covers the top. Yields dry aged New York strip steaks.
- Whole tenderloin: Can be aged, but because it's so lean and narrow, the trim loss percentage is higher. Better for shorter aging periods (14-21 days).
- Top sirloin cap (picanha): Works well due to its generous fat cap. Less traditional but produces excellent results.
What NOT to Age
- Individual steaks (too thin, will desiccate)
- Ground beef (obvious reasons)
- Very lean cuts without a fat cap (no protection)
- Previously frozen beef (ice crystal damage disrupts the aging process)
Grade Matters
Start with the best beef you can afford. USDA Prime is ideal — the abundant marbling keeps the interior moist during the aging period and the fat develops richer flavor as enzymes work on it. Upper Choice works well too. Select grade lacks the marbling to age well and tends to dry out.
For an extraordinary dry aging experience, American wagyu from The Meatery has the marbling density that takes dry aging to another level entirely.
Equipment: Building Your Dry Aging Setup
You have two paths: a dedicated dry aging refrigerator (purpose-built or converted) or a dry aging bag system. Both work, but a dedicated fridge gives you more control and better results.
Option 1: Dedicated Dry Aging Fridge (Recommended)
Convert a small standalone fridge into a dry aging chamber. This is essentially the same approach used for building a curing chamber for charcuterie — and if you already have one, you can dry age beef in it.
What you need:
- Small standalone refrigerator: A dorm fridge or small bar fridge works perfectly. Dedicate it to aging — don't use your kitchen fridge, where the door opens constantly and other food introduces competing bacteria and odors.
- Temperature controller: An Inkbird ITC-308 or similar to override the fridge thermostat and maintain 34-38°F (1-3°C) precisely.
- Small USB fan: Mounted inside to ensure consistent airflow around the meat. Stagnant air leads to uneven drying and mold problems.
- Wire rack: Elevate the beef so air circulates underneath. A standard baking/cooling rack works.
- Hygrometer: Monitor humidity — you want 75-85% relative humidity. A small tray of water with a sponge helps maintain humidity if it drops too low.
- Salt block or Himalayan salt tray (optional): Some home agers place a salt block in the fridge to help regulate moisture and inhibit surface bacteria.
Total cost: $80-$200 depending on whether you already have a spare fridge.
Option 2: Dry Aging Bags
UMAi dry aging bags are a membrane system that allows moisture to escape while protecting the meat from bacteria. You vacuum-seal the beef in the special bag and place it in your regular refrigerator.
Advantages: No dedicated fridge needed, lower startup cost ($25-40 for bags).
Disadvantages: Less control over the process, slightly less flavor development than open-air aging, and your kitchen fridge temperature fluctuates more with door openings.
Bags are a reasonable starting point if you want to try dry aging before committing to a full setup. But for serious dry aging, a dedicated fridge is worth the investment.
The Dry Aging Process: Step by Step
Step 1: Prepare Your Chamber
Clean the fridge thoroughly with a mild bleach solution, rinse, and let it air out. Set the temperature controller to 36°F (2°C). Place your fan, wire rack, and hygrometer inside. Run the chamber empty for 24 hours to verify temperature and humidity stability.
Step 2: Select and Prepare the Beef
Buy the freshest subprimal you can find — ask your butcher for the pack date. Unwrap it, pat it dry with paper towels, and weigh it on a kitchen scale. Record this starting weight — you'll track weight loss weekly to monitor progress.
Do NOT trim anything before aging. The fat cap and any exterior fat are protective layers that minimize trim loss. You'll trim after aging is complete.
Step 3: Place and Monitor
Set the beef on the wire rack inside your chamber. Make sure air can flow around all sides — don't let the meat touch the fridge walls. Close the door and resist the urge to check every hour.
Monitoring schedule:
- Daily (first week): Quick visual check — look for any off-colors or unusual mold. A light, white fuzz is normal and expected. Green, black, or slimy growth means something went wrong.
- Weekly: Weigh the beef and record the weight loss percentage. Check temperature and humidity readings.
- Every few days: Ensure the fan is still running and airflow is consistent.
Step 4: Aging Timeline
How long to age depends on your flavor preference:
- 14-21 days: Noticeable tenderness improvement with mild flavor change. The "starter" timeframe — a good first experiment. The beef tastes cleaner and more tender than fresh, but the funky dry aged flavor hasn't fully developed.
- 28-35 days: The sweet spot for most people. Significant tenderness, concentration of beefy flavor, and the beginning of the nutty, complex dry aged character. This is what most steakhouses serve.
- 45-60 days: Intense, funky flavor that polarizes people. If you love blue cheese and strong flavors, this is your territory. The beef takes on mushroom, roasted nut, and fermented notes. Not for beginners.
- 60+ days: Extreme aging for enthusiasts only. The flavor is incredibly concentrated and complex but can be overpowering. Trim loss is significant — you may lose 30-35% of the starting weight.
For your first dry age, I recommend 28-30 days. Long enough to develop real dry aged character, short enough that you're not risking an expensive piece of beef on an untested setup.
Trimming and Cutting After Aging
When your aging period is complete, remove the beef from the chamber. The exterior will look alarming — dark, hard, and possibly covered in white mold. This is completely normal. That exterior crust (pellicle) did its job protecting the interior.
How to Trim
- Use a sharp, long knife. A boning knife or carving knife works best.
- Trim all dried, hardened exterior meat. Cut until you reach fresh, ruby-red beef underneath. The crust is typically 1/4 to 1/2 inch thick.
- Trim hardened fat. The fat cap will have dried and darkened. Remove the dried portions but leave any soft, fresh fat — it'll render beautifully when you cook.
- If bone-in: Trim along the bones. Some dried meat between the bones is normal and can be left — it adds flavor during cooking.
Trim loss: Expect to lose 20-30% of the post-aging weight to trimming, depending on how long you aged. Combined with moisture loss during aging, a 14-pound bone-in ribeye might yield 8-10 pounds of usable aged beef after 30 days. This is why dry aged steaks command premium prices.
Cutting Steaks
Once trimmed, cut your steaks 1.25-1.5 inches thick. Thicker steaks let you develop a proper crust on the outside while keeping the interior at your desired doneness. Thin-cut dry aged steaks overcook easily and waste the aging investment.
Vacuum seal any steaks you won't cook within 3 days. Dry aged beef can be frozen after cutting with minimal quality loss — the aging has already done its work on the protein structure.
Cooking Dry Aged Steaks
Dry aged beef cooks differently than fresh beef. The lower moisture content means:
- It sears faster. Less surface moisture means quicker Maillard reaction. Watch your pan temperature — it's easy to over-sear.
- It cooks faster internally. Less water means heat transfers more efficiently. A dry aged steak may reach your target temperature 20-30% faster than a fresh steak of the same thickness.
- It needs less seasoning. The concentrated flavor means simple salt and pepper is usually all you need. Don't mask the aging work with heavy marinades or sauces.
Best Cooking Methods
- Cast iron reverse sear: Start in a low oven (250°F) until 10°F below target, then sear in a ripping-hot cast iron skillet with butter. This is my preferred method.
- Direct high-heat grill: Over hardwood charcoal or a stick burner for added smoke complexity.
- Sous vide + sear: Maximum temperature control, then finish with a 60-second sear per side.
Target doneness: Medium-rare (130-135°F internal) is ideal for dry aged beef. The rendered intramuscular fat is at its most luscious at this temperature, and the concentrated flavors sing. Going past medium starts to dry out the already-reduced moisture content.
Safety: The Non-Negotiables
Dry aging is safe when conditions are controlled. It becomes risky when they're not. Here are the rules:
- Temperature must stay between 33-38°F (0.5-3°C). Above 40°F, bacterial growth accelerates dangerously. A temperature controller is not optional — it's essential.
- Humidity between 75-85%. Too low and the beef dries too fast (case hardening). Too high and mold becomes a problem. A hygrometer is cheap insurance.
- Consistent airflow. Stagnant air creates pockets where bacteria and harmful mold thrive. A small fan running continuously solves this.
- Dedicated environment. Don't age beef in a fridge with other food. Cross-contamination from raw vegetables, dairy, or leftovers introduces bacteria. The constant door-opening of a household fridge also disrupts temperature stability.
- Start with quality, fresh beef. Aging doesn't improve bad beef — it amplifies whatever's there. If the starting product is off, aging makes it worse.
- Trust your nose. Properly aged beef smells rich, nutty, and intensely beefy. If it smells sour, rancid, or like ammonia, something went wrong. Discard it.
About Mold
White, fluffy mold on the surface is normal and even desirable — it's typically Thamnidium, a beneficial mold that actually contributes to flavor development and tenderness. Many steakhouses actively cultivate it.
Green, black, red, or slimy mold indicates a problem. If it's limited to one small spot, you can trim generously around it (2+ inches beyond visible mold) and continue. If it's widespread, discard the entire piece.
Dry Aging vs. Wet Aging: What's the Difference?
Most beef sold in supermarkets has been "wet aged" — sealed in vacuum bags and aged in its own juices during transport and storage. Wet aging does improve tenderness (the same enzymes are at work), but it doesn't develop the concentrated, complex flavors of dry aging because no moisture is lost.
Wet aged beef tastes "fresh" and mildly beefy. Dry aged beef tastes intense, nutty, and complex. They're genuinely different products, and once you've had a properly dry aged steak, the difference is unmistakable.
Wet aging is cheaper because there's no weight loss and no trim waste. Dry aging costs more because you're paying for beef that evaporates and gets trimmed away. The trade-off is flavor.
Troubleshooting Common Issues
Case Hardening
Problem: The exterior forms a very thick, hard shell while the interior remains moist. Humidity was too low.
Fix: Increase humidity to 80-85%. In future batches, monitor the first few days carefully — case hardening usually starts early and is hard to reverse once established.
Excessive Mold
Problem: Thick mold covering the entire surface, possibly in multiple colors.
Fix: Improve airflow (add or reposition fan). Check that humidity isn't above 85%. Wipe the beef with a vinegar-dampened cloth and continue aging. If mold returns aggressively, the environment may not be suitable.
Off Odors
Problem: Sour, ammonia, or rancid smell instead of the rich, beefy aroma of proper aging.
Fix: Discard the beef. This indicates bacterial spoilage, likely from temperature abuse or contaminated starting product. Clean and sanitize your chamber before trying again.
Too Much Weight Loss
Problem: Losing more than 20% by weight in the first 2 weeks.
Fix: Humidity is too low or airflow is too aggressive. Add a water tray or reduce fan speed. Some loss is normal and necessary — but rapid loss means the environment is too dry.
Is It Worth It?
Let's do the math. A USDA Prime bone-in ribeye subprimal runs roughly $12-$18 per pound at wholesale. A 14-pound roast costs $170-$250. After 30 days of aging and trimming, you'll have about 9-10 pounds of usable dry aged beef — roughly $17-$25 per pound of finished product.
A dry aged ribeye steak at a steakhouse costs $60-$120+ per plate. Even accounting for the cost of your aging setup (one-time investment), you're getting steakhouse-quality dry aged beef at a fraction of the restaurant price from your second batch onward.
Beyond the economics, there's the satisfaction factor. Slicing into a steak you aged yourself — watching that deep ruby color, smelling the concentrated beefy aroma, tasting that complex, nutty flavor — is deeply rewarding. It's the same satisfaction that comes from curing your own charcuterie. You made this. Time and patience transformed simple ingredients into something extraordinary.
Start with a 28-day bone-in ribeye. Use a dedicated fridge with proper controls. Trust the process. Your first successful dry age will ruin grocery store steaks for you forever — in the best possible way.
Frequently Asked Questions
How long should you dry age beef at home?
28-35 days is the sweet spot for most people — significant tenderness improvement and the classic nutty, concentrated dry aged flavor. 14-21 days gives milder results. 45-60+ days produces intense, funky flavors for adventurous palates. Start with 28 days for your first attempt.
What temperature and humidity for dry aging beef?
Maintain 34-38°F (1-3°C) with 75-85% relative humidity and consistent airflow from a small fan. A dedicated fridge with a temperature controller is essential — don't use your kitchen refrigerator, as frequent door opening disrupts conditions.
Can you dry age individual steaks?
No. Individual steaks are too thin and will desiccate completely. You need a large subprimal — a whole bone-in ribeye, strip loin, or similar — with a protective fat cap. The exterior forms a dried crust that protects the interior while moisture slowly evaporates.
How much beef do you lose to dry aging?
Expect 15-20% weight loss from moisture evaporation during a 30-day age, plus another 20-30% trim loss when you remove the dried exterior crust. A 14-pound subprimal typically yields 8-10 pounds of usable dry aged beef.
Is dry aged beef safe to eat?
Yes, when aged in controlled conditions (34-38°F, 75-85% humidity, consistent airflow, dedicated fridge). The dried exterior crust protects the interior from contamination. White mold is normal and beneficial. Discard beef that smells sour, rancid, or shows green/black mold.
More Charcuterie Guides
What Is Pink Curing Salt? Sodium Nitrite Explained for Home Charcuterie
Pink curing salt is the most essential — and most misunderstood — ingredient in meat curing. This guide explains what it is, why it's pink, how sodium nitrite prevents botulism, proper usage rates, and whether you can cure meat without it.
10 min readHow Long Does Charcuterie Last? Storage Guide for Cured Meats & Cheese
Understanding proper charcuterie storage ensures you enjoy it at peak quality while avoiding food safety risks.
10 min read